WOTOFO PROFILE 24MM MESH RDA MESH STYLE COIL
Available Options
WOTOFO PROFILE 24MM MESH RDA MESH STYLE COIL Review
Wotofo Mesh Style Coils Instructions
Overview
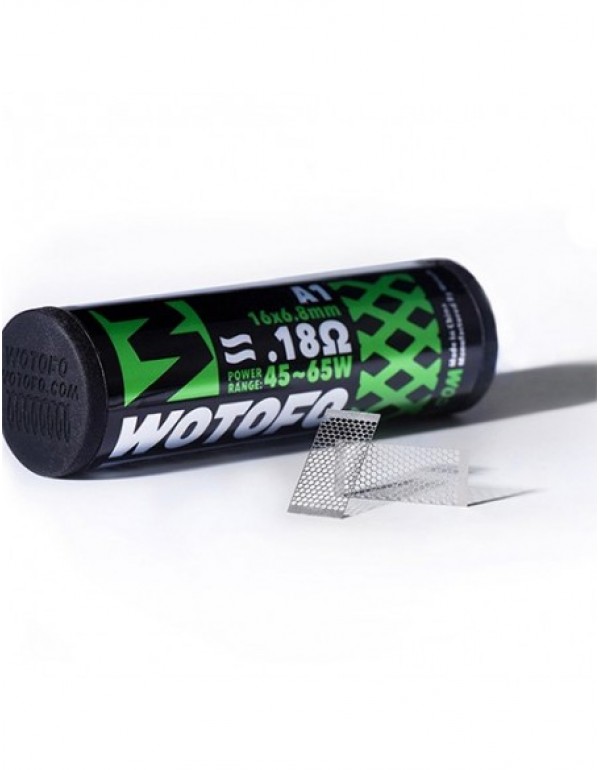
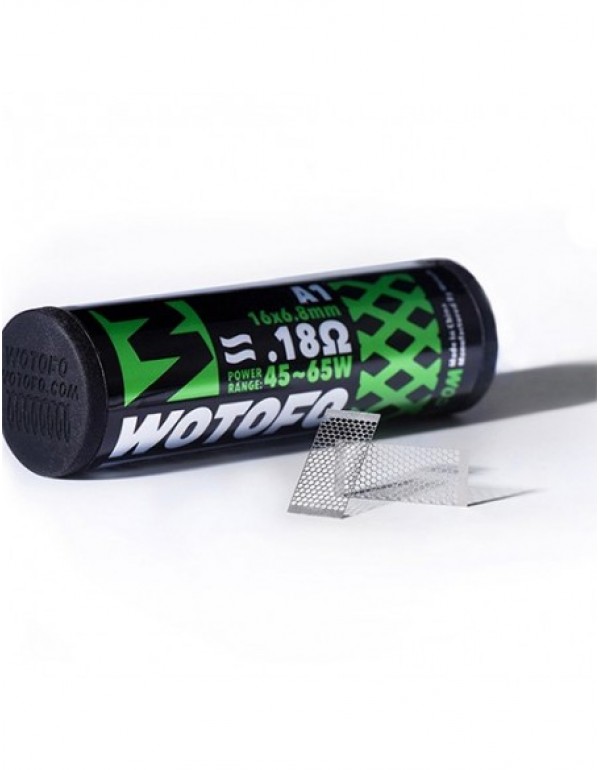
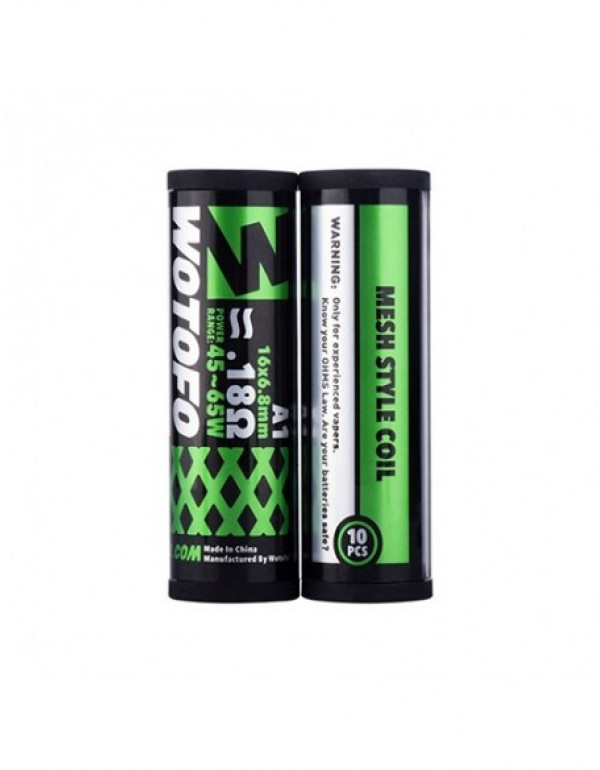
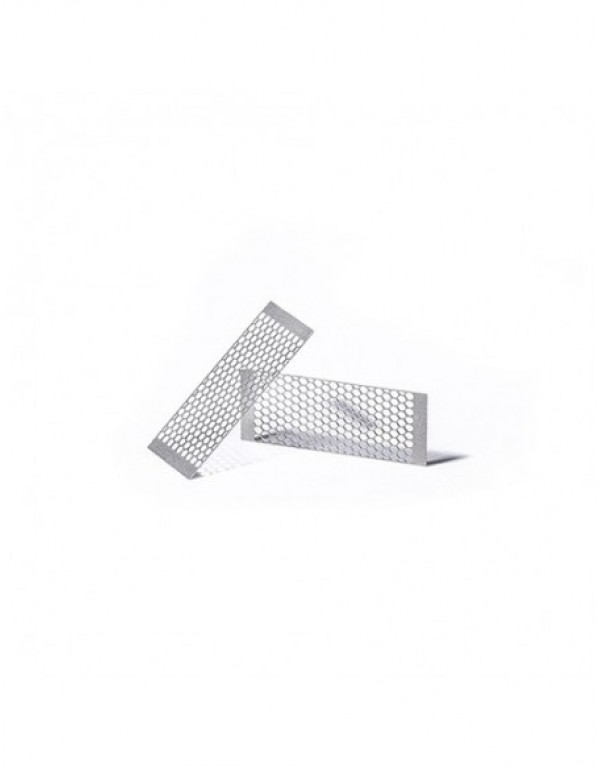
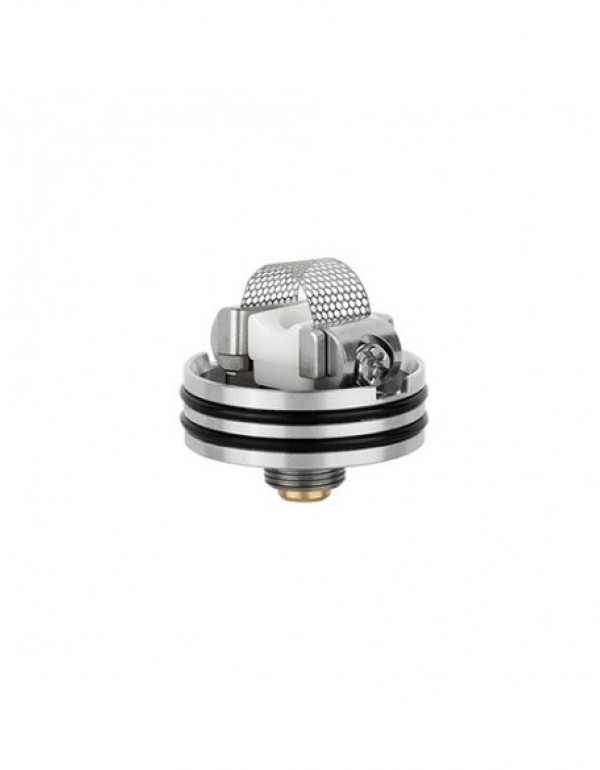
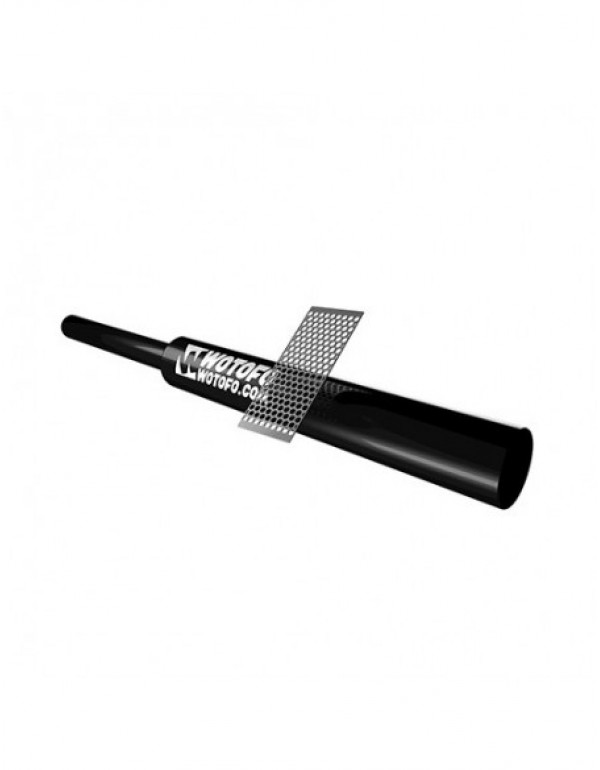
Wotofo Mesh Style Coil is uniquely designed for the Wotofo Profile RDA and are designed to provide you with an expert vaping experience. Every coil makes use of high-quality A1 Kanthal. The coils themselves are designed for 0.18ohm and have a watt range of 45W-65W. As they make use of a mesh coil, they are heated at a faster rate and have a greater heating area than more traditional coils in the market. This allows for greater vapor as well as enhanced flavors. Every individual pack comes alongside 10 individual mesh sheets, ensuring that you can produce vape cloud until your heart is content. In order to install these 16mm x 6.8mm sheets, one must be inserted into the side of the deck, then one on the other side. Once this is done, you can begin your vaping experience.
Wotofo Mesh Style Coils Features
- Rapid heat increase
- Higher contact with your juice
- Effective break down your e-juice layer on layer
- A stable structure designed from solid mesh
- Highly resistant to damage
- Highly durable
- Easy maintenance requirements
Wotofo Mesh Style Coils Package Includes
10 x mesh style coils
Wotofo Mesh Style Coils Specifications
- Dimensions: 16mm x 6.8mm
- Resistance: 0.18ohm
- Material: Kanthal A1
- Wattage range: 40-60W
FQA for the Wotofo Mesh Coil Problems
How To Install The Wotofo Mesh Coil?
- Begin by inserting your coil into one end of the clamp.
- After the coil is in place, keep it still and tighten the screws until it is strongly fastened.
- Repeat this on the other side and your coil will successfully be installed.

